Tuesday, April 12, 2016

WPF - Binding the datas of DataTable on ComboBox.

It is the way binding the datas of DataTable on ComboBox.

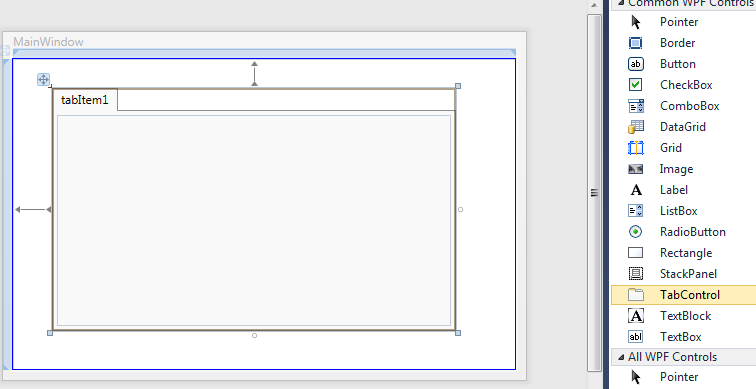
1. Add ComboBox on the Window.


 2. Type ComboBox name.


3. Add Initialized Event on Window.


 4. Add SelectionChanged event of ComboBox.


5. Type below codes on Window's code file.
 1
 2
 3
 4
 5
 6
 7
 8
 9
10
11
12
13
14
15
16
17
18
19
20
21
22
23
24
25
26
27
28
29
30
31
32
33
34
35
36
37
38
39
40
41
42
43
44
45
46
47
48
49
50
51
52
53
54
55
56
57
using System;
using System.Collections.Generic;
using System.Linq;
using System.Text;
using System.Windows;
using System.Windows.Controls;
using System.Windows.Data;
using System.Windows.Documents;
using System.Windows.Input;
using System.Windows.Media;
using System.Windows.Media.Imaging;
using System.Windows.Navigation;
using System.Windows.Shapes;
using System.Data;

namespace ComboBoxBinding
{
    public partial class MainWindow : Window
    {
        public MainWindow()
        {
            InitializeComponent();
        }

        private void Window_Initialized(object sender, EventArgs e)
        {
            // Create DataTable instance.
            DataTable dataTable = new DataTable();

            // Add the colums in DataTable.
            dataTable.Columns.Add("VALUE", typeof(string));
            dataTable.Columns.Add("NAME", typeof(string));

            // Add the datas in DataTable.
            dataTable.Rows.Add(new string[] { "KR", "Korea" });
            dataTable.Rows.Add(new string[] { "US", "America" });
            dataTable.Rows.Add(new string[] { "CH", "China" });
            dataTable.Rows.Add(new string[] { "JP", "Japan" });

            // Binding DataView of DataTable on ComboBox.
            comboBox.ItemsSource = dataTable.DefaultView;
            // Set DisplayMemberPath attribute.
            comboBox.DisplayMemberPath = "NAME";
            // Set SelectedValuePath attribute.
            comboBox.SelectedValuePath = "VALUE";
        }

        private void comboBox_SelectionChanged(object sender, SelectionChangedEventArgs e)
        {
            // Check the slected data.
            foreach (DataRowView row in e.AddedItems)
            {
                MessageBox.Show("Value : " + row["VALUE"] + "\n" + "Name : " + row["NAME"]);
            }
        }
    }
}


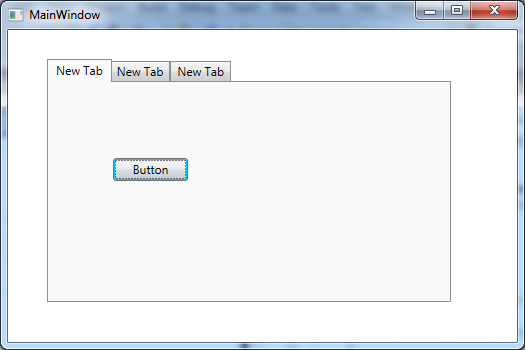
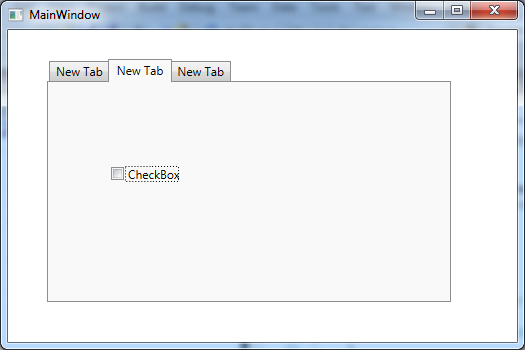
6. Below images is result.


Refer below vedio.

Thursday, April 7, 2016

WPF - Add User Control Tabs in Tab Control.

We can add a Tab Item of TabControl dynamically.
This post is simple example that User Control Tabs is added in TabControl.

1. Add TabControl in Window.

2. Show a dialog of TabControl Items.

3. Remove a TabItem.

4. Create User Control.(I created 3 User Control)


5. Add Window Loaded event.

6. Type below code in Window Loaded event.

 1
 2
 3
 4
 5
 6
 7
 8
 9
10
11
12
13
14
15
16
17
18
19
20
21
22
23
24
25
26
27
28
29
30
31
32
33
34
35
36
37
using System;
using System.Collections.Generic;
using System.Linq;
using System.Text;
using System.Windows;
using System.Windows.Controls;
using System.Windows.Data;
using System.Windows.Documents;
using System.Windows.Input;
using System.Windows.Media;
using System.Windows.Media.Imaging;
using System.Windows.Navigation;
using System.Windows.Shapes;

namespace AddTabItem
{
    public partial class MainWindow : Window
    {
        public MainWindow()
        {
            InitializeComponent();
        }

        private void Window_Loaded(object sender, RoutedEventArgs e)
        {
            UserControl[] userControls = new UserControl[] { new UserControl1(), new UserControl2(), new UserControl3()};
            foreach (UserControl uc in userControls)
            {
                TabItem tabItem = new TabItem();
                tabItem.Header = "New Tab";
                tabItem.Content = uc;

                tabControl1.Items.Add(tabItem);
            }
        }
    }
}

7. If you run WPF Appliction, you can see added 3 TabItem in TabControl.


WPF - Add an Image in a button

We can add an image in a WPF button easily.


Refer below XAML code.
 1
 2
 3
 4
 5
 6
 7
 8
 9
10
11
12
13
14
15
<Window x:Class="ImageButton.MainWindow"
        xmlns="http://schemas.microsoft.com/winfx/2006/xaml/presentation"
        xmlns:x="http://schemas.microsoft.com/winfx/2006/xaml"
        Title="MainWindow" Height="350" Width="525">
    <Grid>
        <Button HorizontalAlignment="Left" Margin="50,50,0,0" Name="button1" VerticalAlignment="Top">
            <ContentControl>
                <StackPanel Orientation="Horizontal" Width="Auto" HorizontalAlignment="Left">
                    <Image Source="/ImageButton;component/images/save.gif" Margin="0,0,5,0" Width="20" Height="20" />
                    <TextBlock Text="Image Button" VerticalAlignment="Center" Height="18" Width="Auto" />
                </StackPanel>
            </ContentControl>
        </Button>
    </Grid>
</Window>

Wednesday, April 6, 2016

Android - How to set TextView text style

We can set text style by the setTypeface of TextView class.

Below is text style type.
(1) Bold + Italic : Typeface.BOLD_ITALIC
(2) Bold : Typeface.BOLD
(3) Italic : Typeface.ITALIC
(4) Normal : Typeface.NORMAL

Sample Code
 TextView textView = (TextView)this.findViewById(R.id.text_view);
 textView.setTypeface(null, Typeface.BOLD_ITALIC);
 textView.setTypeface(null, Typeface.BOLD);
 textView.setTypeface(null, Typeface.ITALIC);
 textView.setTypeface(null, Typeface.NORMAL);

How to create Android Tabs swipe app.

1. Create new project on the Android Studio.

2. Input the values of Application Name and Company Domain, and click Next button.

3. Check Phone and Tablet and select Minimum SDK and click Next button.

4. Select Tabbed Activity and click Next button.

5. Select Action Bar Tabs(with Viewpager) in Navigation Style.

6. If below error occur, you need to change appcompat version(23.1.1 → 22.1.1) in the build.gradle file. The build.gradle file path is <Project Folde>\app.


Refer the below video.


Friday, November 27, 2015

Android - How change the background color of the Action Bar

It is easy to change the background color of the Action Bar without modify style xml.
You can change the background color by below code.
 // Change the background color into red.
 getSupportActionBar().setBackgroundDrawable(new ColorDrawable(0xFFFF0000));

Example : 
[Before to change color]


[After to change color]

[Full Source]
import android.graphics.drawable.ColorDrawable;
import android.support.v7.app.ActionBarActivity;
import android.os.Bundle;
public class ActionBarTestActivity extends ActionBarActivity {
    @Override
    protected void onCreate(Bundle savedInstanceState) {
        super.onCreate(savedInstanceState);
        setContentView(R.layout.activity_action_bar_test);
        // Change the background color into red.
        getSupportActionBar().setBackgroundDrawable(new ColorDrawable(0xFFFF0000));
    }
}


Thursday, November 26, 2015

Creating Swipe Views of Android App with Tabs

1. Create a New Android Project.

2. Input the Application Name & Company Domain and click the Next button.


3. Select the Minimum SDK and click the Next button.


4. Select the Tabbed Activity and click the Next button.


5. Select the Action Bar Tabs(with ViewPager) on the Navigation Style and click the Finish button.


6. If below errors occurs while building Android Project, you have to change appcompat version 23.1.1 into 22.1.1.
  (If your project SDK version is over 23, you can build new project without errors.)